When it comes to Google Maps Markers, you really don’t have intensive customisation options. Google Maps JavaScript API 3 provides handful of features to customise it. But changing the default marker look and feel with the options provided is not always sufficient. Luckily, we have SVGs to the rescue. And more luckily, Google Maps seem to support vectors in a lessor known way.
If you dive deep enough, you’ll realise that there are plenty of ways to customise it. And not all the ways seem to work in all the browsers and environments. Some of the ways I’ve previously used are:
- Shallow mounting a Vue component and using it as a marker
- Using a SVG ‘path’ as a marker
- Overwriting the original marker with CSS and timed JavaScript code
But now I’m going to show a very simple way which works just fine.
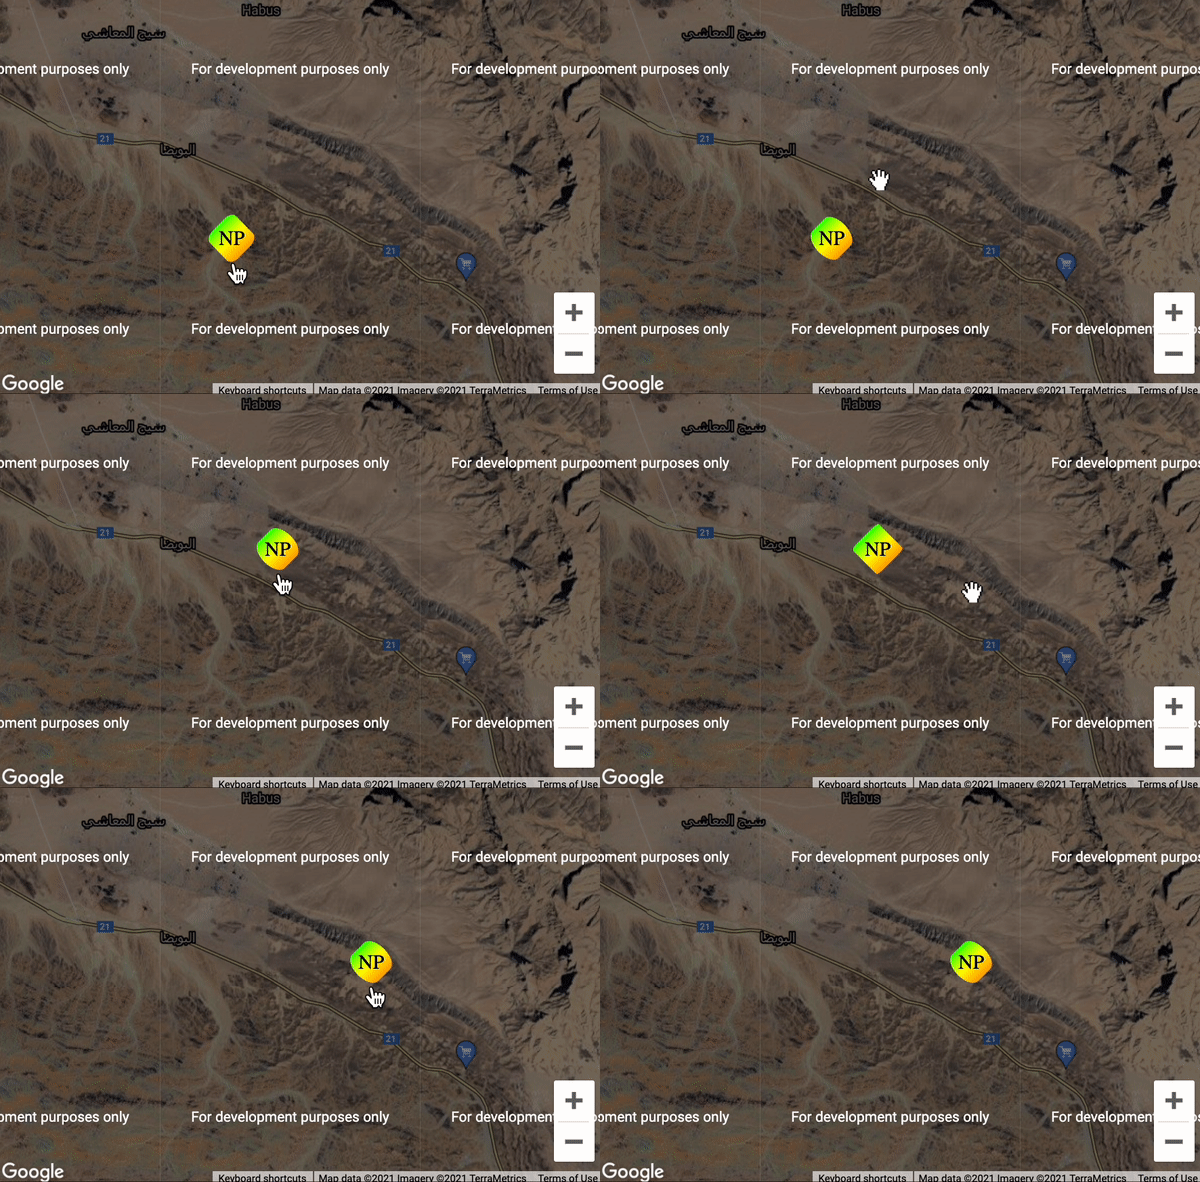
At the end of this tutorial, you’ll be able to have an animated SVG as your Google Maps marker. That is, you’ll have access to all the Google Maps marker events, functions and options with your own designed marker. This is how transit:
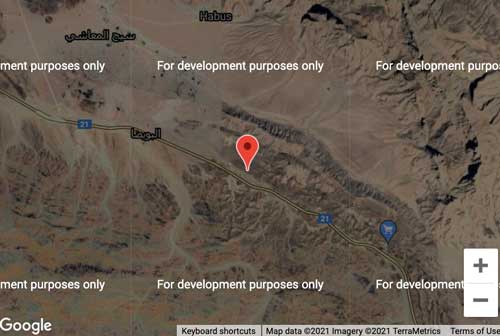
From this:

To this:

First, you need to create a template with an HTML element to mount the Google Maps map:
<template>
  <div>
    <div id="animated-marker-map" class="map-margins"></div>
  </div>
</template>
Code language: HTML, XML (xml)
It contains nothing but the HTML id attribute, which you can use to initialise the Google Maps properties.
Now, since we’re using Vue.js, you need to install a library to load the Google Maps API into your Vue environment. Run the following command on your terminal / command promt:
npm i load-google-maps-api --saveThis will install the load-google-maps-api library for your use.
Now, back to the template. You need to add the following script code (I’ll explain below what it does):
<script>
import loadGoogleMapsApi from "load-google-maps-api";
import { gMapsApiKey } from "./../constans";

export default {
  name: "AnimatedMarkerMap",
  data() {
    return {
      map: null,
    };
  },
  mounted() {
    loadGoogleMapsApi({
      key: gMapsApiKey,
      libraries: ["places", "drawing", "geometry"],
    }).then(async () => {
      const mapZoom = 12;
      const { google } = window;
      const mapOptions = {
        zoom: mapZoom,
        mapTypeId: google.maps.MapTypeId.HYBRID,
        center: new google.maps.LatLng({ lat: 23, lng: 57 }),
        mapTypeControl: true,
        streetViewControl: false,
        mapTypeControlOptions: {
          position: google.maps.ControlPosition.BOTTOM_LEFT,
        },
      };
      this.map = new google.maps.Map(
        document.getElementById("animated-marker-map"),
        mapOptions
      );

      const newIcon = {
        url: "http://svgur.com/i/d9y.svg",
        anchor: new google.maps.Point(25, 50),
        scaledSize: new google.maps.Size(50, 50),
      };

      const marker = new google.maps.Marker({
        position: this.map.getCenter(),
        map: this.map,
        icon: newIcon,
      });

      this.map.addListener("click", (mapsMouseEvent) => {
        marker.setPosition(mapsMouseEvent.latLng);
      });
    });
  },
};
</script>
Code language: HTML, XML (xml)
On line 2, I just imported the required library. Then I imported the Google Maps API key, which I got from Google Cloud Console. Note that I’ve not filled my billing information for the API key. That’s why you’ll see a warning that says ‘This page cannot load Google Maps correctly”. However, everything will work just fine, excluding that warning of course.
Moving on to line 13, I called the loadGoogleMapsApi library with a few default options. On line 29, I initialised the Google Maps for usage.
On line 34, I created an icon and called it newIcon. You’ll notice that I’ve used an option called ‘url’. This is where you can directly pass a resource URL which contains an SVG file. You can also shallow mount a Vue SVG component if you want to pass some props (let’s say your name’s initials). Then on line 40, I’ve created the marker with the newly created icon. I also referenced the map in use with this.map.
Finally, on line 46, I added an event listener to the Google Maps map instance. I’ve directly set the position of the marker to the mouse click position.
Note: You can learn more about SVG animation on the MDN web docs. Combine it with this really good tool I found on Netlify, and you’ll have something exciting.
You can grab the source code of the above working demo from my repos:

