Reactive Declarations are some of the most powerful features in Svelte. If you’ve worked with Vue.js, it’s somewhat similar to how computed properties work.
Let’s have a look at this example to understand how it works:
<script>
  let name = 'Gautam';

  $: uppercasedName = name.toUpperCase()
  $: lowercasedName = name.toLowerCase()
  $: actualName = name
  $: nameLength = name.length
  $: if (name === 'Gautam') {
    console.log('Gautam printed!')
  }

  function toggleName() {
    if(name === 'Gautam') name = 'Tim'
    else name = 'Gautam'
  }
</script>

<div>
  <p>Name in upper case: {uppercasedName}!</p>
  <p>Name in lower case: {lowercasedName}!</p>
  <p>Name without casing: {actualName}!</p>
  <p>Name length: {nameLength}</p>

  <button on:click="{toggleName}">Toggle name</button>
</div>
Code language: HTML, XML (xml)
In the above code, we’ve got a reactive state named name with value Gautam on line 2.
We then have a few reactive declarations (also called named or labeled properties). We’re denoting these properties by the symbol $. For each reactive declaration, we can have some reactive properties which will depend on the dependents of the property for changes. It means that if we have a reactive declaration named uppercasedName, it’ll depend on the reactive property name. So, whenever we change the value of name, the value of uppercasedName will also change.
We can also have conditional reactive declarations as shown on lines 8 through 11. Whatever values are compared with within the reactive conditions, we look for those values to update.
If we want, we can even have switch-case statements for reactive declarations as follows:
 $: switch(name) {
    case 'Tim': console.log('Tim printed!')
    default: break;
  }
Code language: JavaScript (javascript)
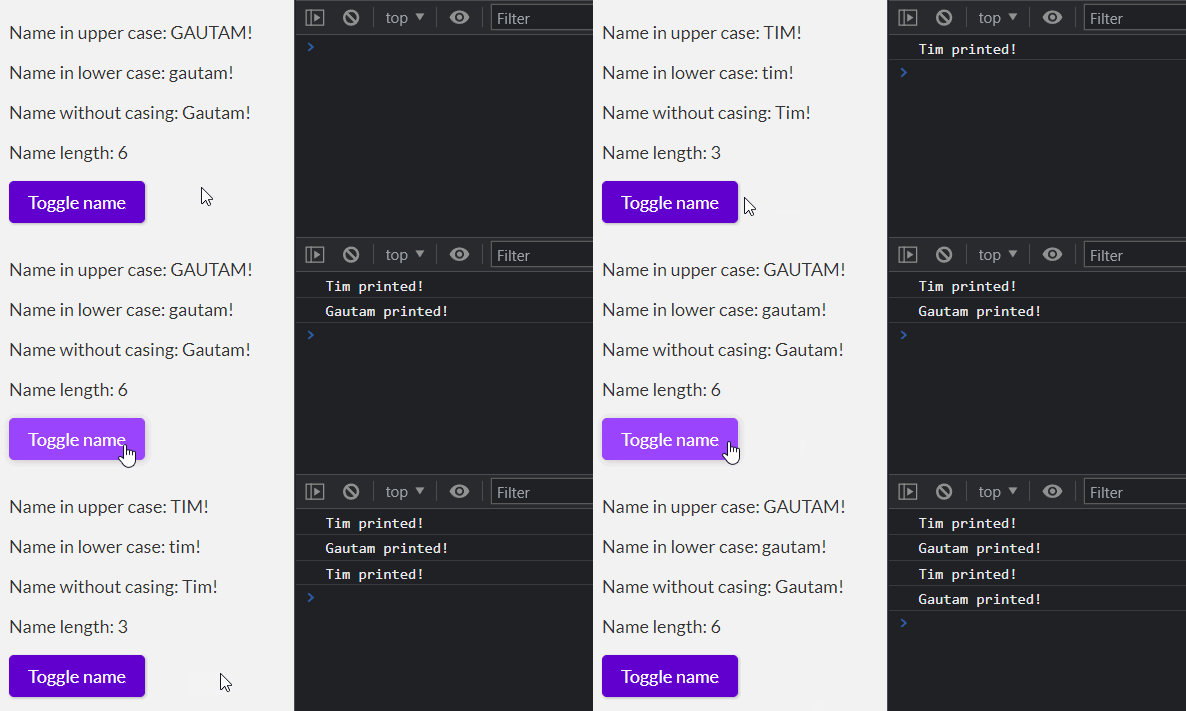
In the above case, whenever we change the value of name to ‘Tim’, it’ll print ‘Tim printed!’.
Here’s what the above code would look like in action:


