Lazy loading assets is one of the most important parts of a web app if it contains a lot of images. It means that, the images are loaded only when the image container comes into the viewport of the user’s screen.
This helps in gaining performance by not loading all the required images at once. It helps save both bandwidth and disk size.
We can lazy load images in Vue 3 by using the v-lazy-image library. Run the following command in your terminal to install the library and use it:
npm i v-lazy-imageOnce the package has been installed, we can now import the component and pass the image source to it.
Here’s our App.vue file demonstrating the same:
<template>
<div>
<div class="np-header">
<h3>Vue 3 Lazy Load Images Example</h3>
</div>
<div class="np-ht">
<v-lazy-image src="https://picsum.photos/id/1/500/400" />
</div>
<div class="np-ht">
<v-lazy-image src="https://picsum.photos/id/2/500/400" />
</div>
<div class="np-ht">
<v-lazy-image src="https://picsum.photos/id/3/500/400" />
</div>
<div class="np-ht">
<v-lazy-image src="https://picsum.photos/id/4/500/400" />
</div>
<div class="np-ht">
<v-lazy-image src="https://picsum.photos/id/5/500/400" />
</div>
<div class="np-ht">
<v-lazy-image src="https://picsum.photos/id/6/500/400" />
</div>
<div class="np-ht">
<v-lazy-image src="https://picsum.photos/id/7/500/400" />
</div>
<div class="np-ht">
<v-lazy-image src="https://picsum.photos/id/8/500/400" />
</div>
<div class="np-ht">
<v-lazy-image src="https://picsum.photos/id/9/500/400" />
</div>
<div class="np-ht">
<v-lazy-image src="https://picsum.photos/id/10/500/400" />
</div>
<div class="np-ht">
<v-lazy-image src="https://picsum.photos/id/11/500/400" />
</div>
<div class="np-ht">
<v-lazy-image src="https://picsum.photos/id/12/500/400" />
</div>
<div class="np-ht">
<v-lazy-image src="https://picsum.photos/id/13/500/400" />
</div>
<div class="np-ht">
<v-lazy-image src="https://picsum.photos/id/14/500/400" />
</div>
<div class="np-ht">
<v-lazy-image src="https://picsum.photos/id/15/500/400" />
</div>
<div class="np-ht">
<v-lazy-image src="https://picsum.photos/id/16/500/400" />
</div>
<div class="np-ht">
<v-lazy-image src="https://picsum.photos/id/17/500/400" />
</div>
<div class="np-ht">
<v-lazy-image src="https://picsum.photos/id/18/500/400" />
</div>
<div class="np-ht">
<v-lazy-image src="https://picsum.photos/id/19/500/400" />
</div>
<div class="np-ht">
<v-lazy-image src="https://picsum.photos/id/20/500/400" />
</div>
<div class="np-ht">
<v-lazy-image src="https://picsum.photos/id/21/500/400" />
</div>
<div class="np-ht">
<v-lazy-image src="https://picsum.photos/id/22/500/400" />
</div>
<div class="np-ht">
<v-lazy-image src="https://picsum.photos/id/23/500/400" />
</div>
</div>
</template>
<script>
import VLazyImage from "v-lazy-image";
export default {
name: "App",
components: {
"v-lazy-image": VLazyImage,
},
};
</script>
<style>
#app {
font-family: Avenir, Helvetica, Arial, sans-serif;
-webkit-font-smoothing: antialiased;
-moz-osx-font-smoothing: grayscale;
text-align: center;
color: #2c3e50;
margin-top: 60px;
}
.np-ht {
height: 600px;
}
.np-header {
padding: 30px;
background: #eee;
max-width: 500px;
margin: 0 auto;
margin-bottom: 40px;
}
.v-lazy-image {
filter: blur(20px);
transition: filter 0.7s;
}
.v-lazy-image-loaded {
filter: blur(0);
}
</style>
Code language: HTML, XML (xml)We’ve imported the component on line 79. We’ve then registered the component on line 84. Finally, we’ve used the component with all the images in the template, starting with the one on line 7.
To check if it’s working, we can follow the following steps:

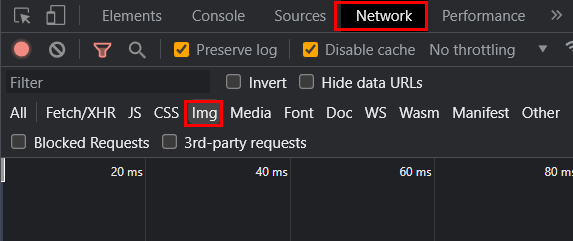
- Open the DevTools on our web browser
- Click on the Network tab
- Click on the Img filter
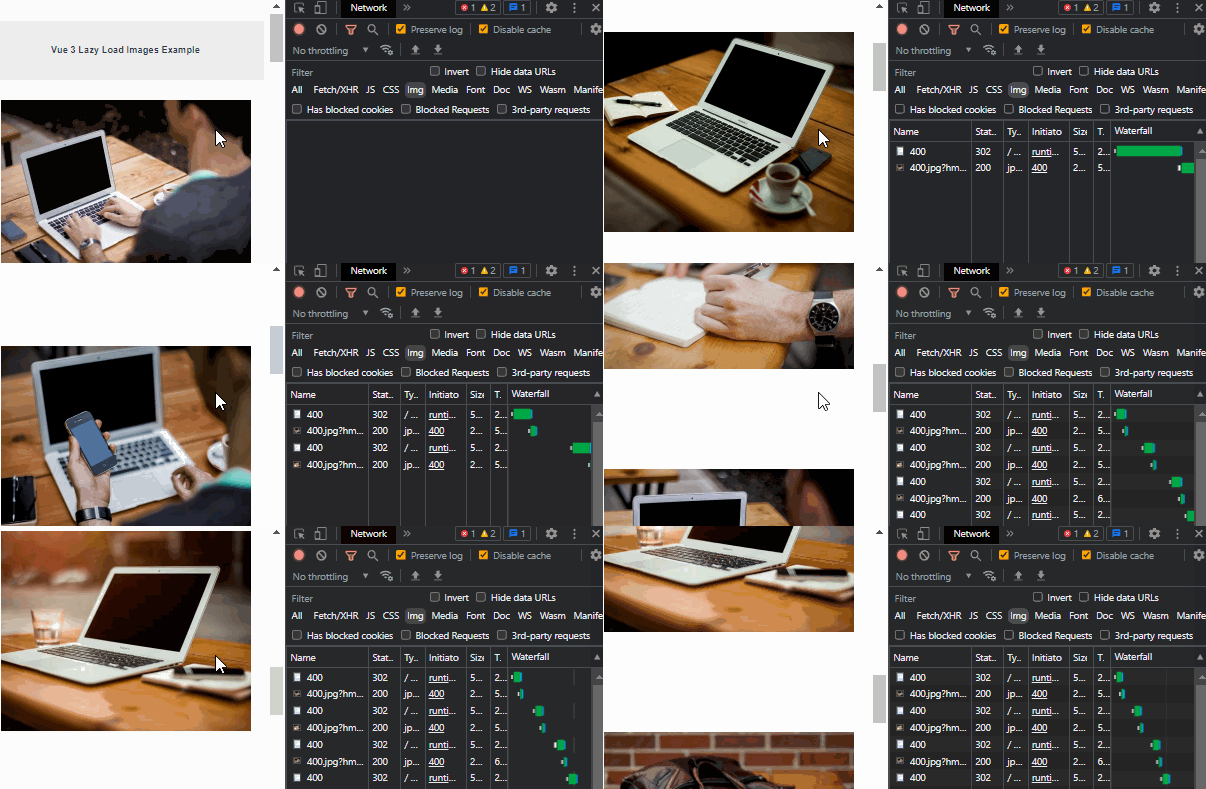
And now, as we scroll down the page, we should see new network requests for the images to load:

You can find a fully working version of the above code from my repo links below:

